
How to Wire LED Strips: Actionable Tips
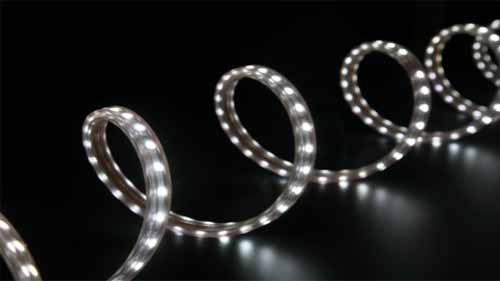
You just had a set of colorful LED strips delivered to your house by the biggest LED strip manufacturer to your house, but you are stuck with one big problem, how to wire them. Unlike conventional lighting around the house, an LED strip requires its own wiring. Fortunately for you, it is not as complicated as other kinds of wiring. All you need is a bit of experience and a manual book.
The following are ways through which you can successfully wire LED wires in the house.
Table of Contents
Step 1: Measure the Area
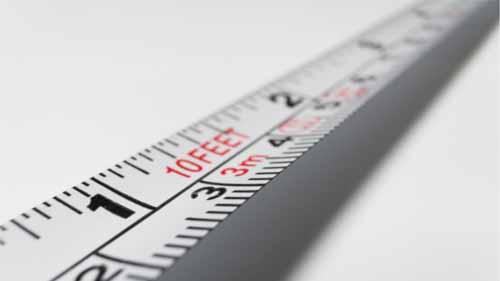
You need the right tools to get the correct measurements of the area you plan to wire the light strips. First, begin by making a rough estimation of the amount of LED strips you will require for that area. If the LEDs are going to different locations, then measure each location separately, moving down everything to avoid confusion.
Before starting any wiring, plan out the whole thing by drawing a mental picture of how you want the whole setup to look like. Consider the distance from the area of installation to the power sockets. If the distance is too great to relocate, then be ready to invest in a long extension plug.
Step 2: Determine the voltage of the LEDs
One of the many interesting things about LED lights is how simple they are. Knowing the voltage required by the LEDs will help you know the right kind of wires needed on top of getting the right connectors in advance. LEDs come in two types as far as power consumption is concerned. It can either be 12V or 24V. You have to match that with the power supply, or else they will not have enough juice to keep going.
If you intend to cut the LED strips down to smaller sections to use them like that, then you can wire them to the same power source if all of them have matching voltage. If saving power is the aim, then you consider wiring up everything using the 12V voltage. If brightness is what you are looking for, then the 24V will serve you better and is much longer, which makes wiring much easier.
Step 3: Get the Right Power Supply
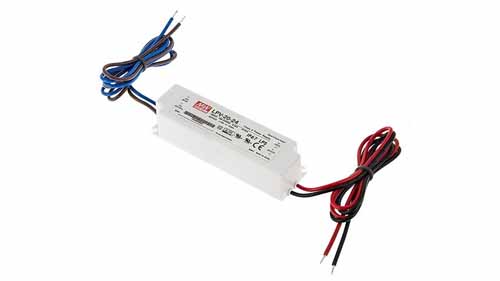
Having figured out the voltage you’ll be going with, it is time to find the best power supply that will handle whatever length you chose to install. It has to match the maximum power rating and the amperage of each strip. Popular LED power supply devices are brick-style adapters as they are easy to use and provide extra ports in case you need to plug something else on the same.
If you intend to power several different strips, then you should get separate power suppliers for each as they may have different power ratings. Dimmable LEDs should be hooked onto a dimmable power supply.
You could try to hardwire the LEDs to an already existing power supply you use on normal light uses, but that could backfire on you badly; you may need to get the services of a qualified electrician for this.
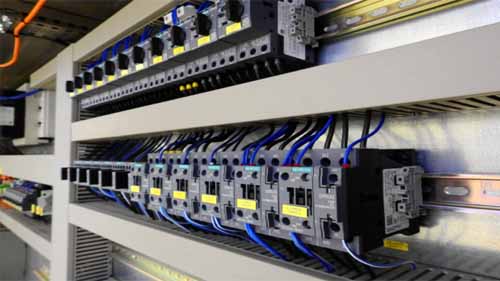
Step 4: Connect Everything Up
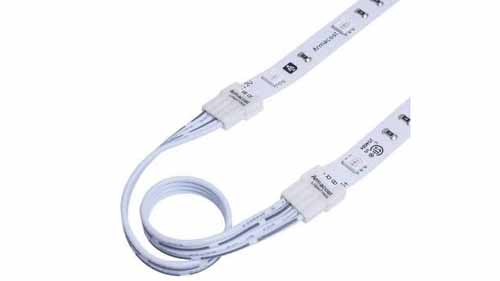
With everything in place and matching up, it is time to finally connect all the parts together to finish your wiring. With all the custom LED strips secured in place on walls with stickers, simply connect their ends to the power supply then plug into the power socket. Switch it on and bask in the glory of your work. If you have a remote controller, use it to change the light patterns as you deem fit.
You can repeat the whole process for every room. When it comes to the bathrooms, since there’s water involved, you may need to switch to silicone flex LEDs as they are waterproof and safe. You can wire the same on the porch, too, using brighter outdoor LEDs for the best effect.
Why Wiring is Important
Wiring the LED strip lights properly as opposed to hanging them on random items around the house is important because of the following reasons;
It Creates Order: Lining the strips in an orderly fashion is good for aesthetics and allows you to know where each strip of light is plugged into. This way, you will know which to dim down and which to brighten when you need to.
It is Safer: Leaving the strips hanging around everything in the house can pose a hazard around the house. One could trip over the wires and bring down things, and that is the last you’d want to deal with. Wiring the strips in an orderly fashion also protects them from being stepped on or coming into contact with water.
Conclusion
Caution has to be exercised when dealing with electricity, no matter how small the installation may be. Always protect yourself by keeping the working area dry and keeping the main switch off until everything is ready.
If you have any questions regarding LED strip light products and how you can better get the best out of them, drop us an email, and we will get back to you as fast as we can.